I thought it’d make sense to discuss tips for wood shingle roofing installation, so I came up with 9 essential ‘hey you should know this’ tips for you. Did you know that wood shingle roofs can last up to 30 years if installed properly? Yeah, that’s right! But getting it right takes a bit of finesse.
Let me make a pitch for to grab your hammer and get ready to tackle your roof with confidence. Because when it comes to wood shingle roofing, a little know-how goes a long way.
Let’s make sure your roof is the envy of the neighborhood!
Key Takeaways
- Proper wood shingle selection is important for durability and suitability for the local climate.
- Thoroughly inspect the roof for any existing damage or issues before installation.
- Weatherproofing and underlayment are crucial for protecting the roof from the elements and preventing water damage.
- Shingle alignment, ventilation, and regular maintenance are essential for the longevity and performance of the roof.
Proper Wood Shingle Selection
When selecting wood shingles for a roofing installation, it’s important to consider the durability, aesthetics, and suitability for the local climate. It’s like picking the perfect avocado at the grocery store – you want it to be just right, not too soft and definitely not rock hard.
The wood shingle grading system is like the avocado squeeze test for your roof. Grade A shingles are the cream of the crop, with minimal defects and maximum durability, while Grade B and Grade C may have more imperfections and a shorter lifespan. So, if you want your roof to be the Gucci of roofs, go for Grade A.
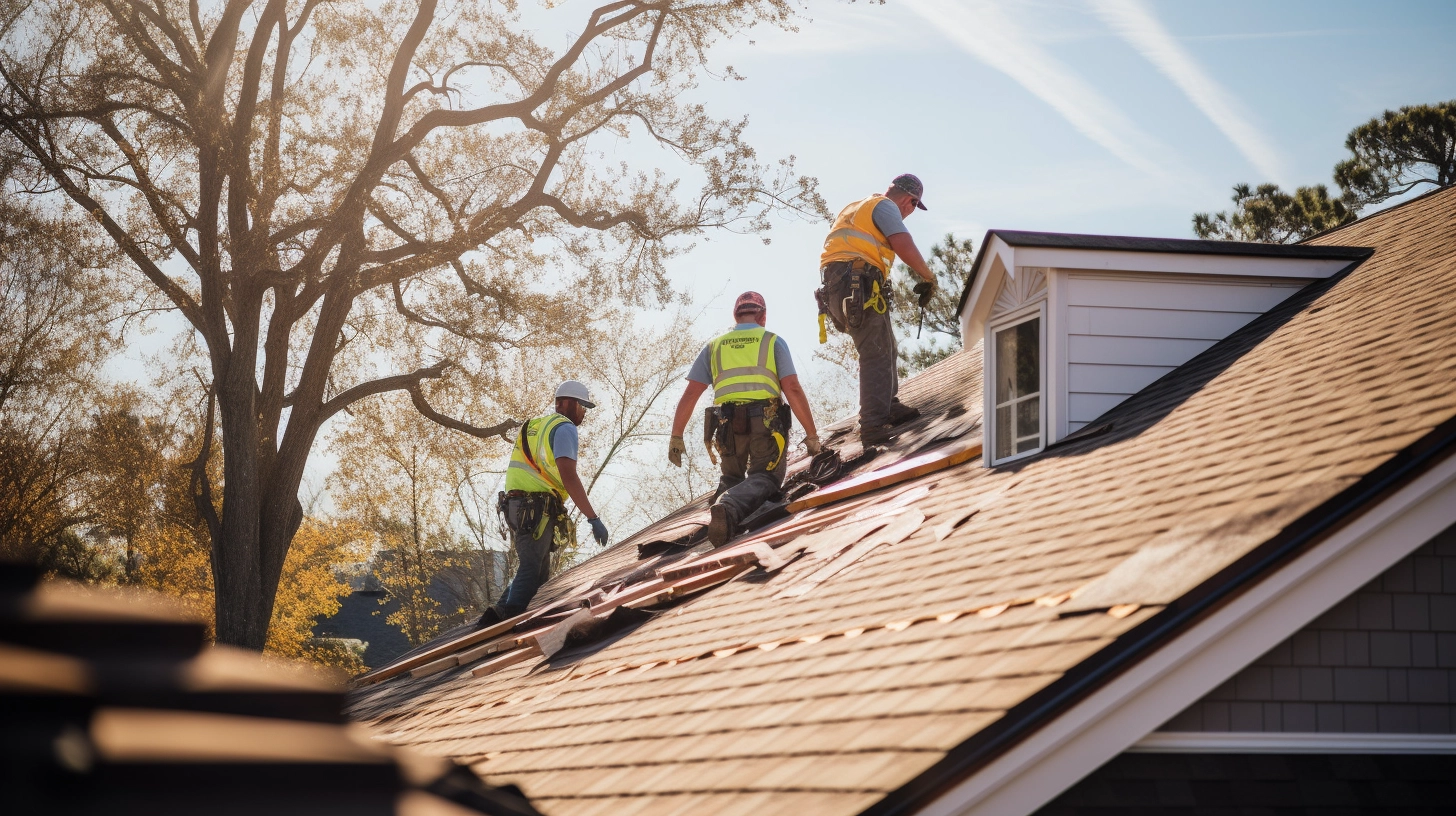
Now, let’s talk installation best practices. It’s not just slapping some shingles on and calling it a day. I mean it’d be great if it were so easy & simple that you could make happy and grab a Trolley with your friends at the Trolley Pub Wilmington. However, it isn’t that easy or simple, haha. Proper installation is key to a long-lasting roof. Think of it as putting together a puzzle – you want to make sure each piece fits snugly and securely.
Ensuring the correct overlap, using the right type of nails, and providing adequate ventilation are all crucial steps. Trust me, you don’t want your roof to end up looking like a jigsaw puzzle missing a few pieces when the next storm hits.
Roof Preparation and Inspection
Alright, so you’ve got your wood shingles ready to go, but before we start hammering away, we need to do a little roof forensics.
Think of it as a CSI episode, but with less dramatic music. We’ll be inspecting for any sneaky damage, clearing out debris, and making sure our roof is ready to weather any storm.
Proper Inspection Before Installation
Before my team and I begin any wood shingle roofing installation, it is essential to thoroughly inspect the roof for any existing damage or issues. It’s like giving your roof a thorough check-up before a major operation. First, I check for proper moisture assessment and material compatibility. I mean, we don’t want any unexpected material drama up there, right? Then, I assess the structural integrity and keep an eye out for potential rot issues. Rot is like the sneaky ninja of roof problems, hiding in plain sight. Here’s a handy table to keep things organized:
| Inspection Checklist | Status |
|---|---|
| Moisture Assessment | OK |
| Material Compatibility | Check |
| Structural Integrity | Good |
| Potential Rot Issues | None |
With these boxes checked, we’re ready to give your roof the makeover it deserves!
Clearing Debris for Safety
After thoroughly inspecting the roof for any existing damage or issues, it’s crucial to clear away any debris to ensure a safe and clean work area. Who wants to be dodging old soda cans and rogue tree branches while working on a roof? Not me! It’s like an obstacle course up there, and I don’t need any extra challenges.
Plus, debris can be a safety hazard. Nobody wants to trip over a stray hammer because it was hiding under a pile of leaves. So, grab a broom, a trash bag, and maybe a helmet (just kidding, but maybe not) and get that debris out of the way.
It’s all about creating a hazard-free zone, and it’s a lot easier to work when you’re not tiptoeing around like it’s a minefield.
Importance of Weatherproofing
One crucial step in wood shingle roofing installation is to thoroughly inspect the roof for any potential weatherproofing issues. This means ensuring that moisture control and protective coatings are in place to fend off the elements. Sealant application and waterproofing techniques are like the superhero capes for your shingles—protecting them from the villainous forces of rain, snow, and sleet. It’s like giving your roof a protective raincoat, but way cooler. To emphasize the significance of weatherproofing, let’s break it down:
| Importance of Weatherproofing |
|---|
| Prevents Leaks |
| Extends Roof Lifespan |
Installation Tools and Equipment
Alright, let’s talk about the real MVPs (Most Valuable Players, for those who are sports fiends) of wood shingle roofing installation – the tools and equipment.
From trusty hammers to precision saws, having the right gear makes all the difference.
Essential Installation Tools
When preparing for wood shingle roofing installation, I always start by gathering the essential installation tools and equipment. It’s like gearing up for a DIY adventure, but with less chance of getting lost in the wilderness.
First off, let’s talk about essential tool maintenance. Trust me, a rusty saw or a wonky hammer won’t make your job any easier. Keep those tools clean and sharp, just like your wit.
As for safety precautions, I’ve learned the hard way that roofing isn’t the time for daredevil stunts. Make sure your ladder is sturdy, and please, for the love of all that’s good, wear a helmet. This isn’t a fashion show; it’s a battle against gravity.
Proper Equipment Selection
Before starting the wood shingle roofing installation, I carefully select the appropriate tools and equipment to ensure a smooth and efficient process. Equipment maintenance is crucial – I mean, nobody wants a wobbly ladder or a wonky hammer when you’re perched up high, right?
Safety first, people! Proper training and certification are also essential. I mean, you wouldn’t trust a unicycle rider to perform brain surgery, would you? So, make sure you and your team know how to handle the equipment safely. It’s not just about slapping on some goggles and hoping for the best; it’s about knowing what you’re doing.
Plus, it’s way funnier to watch someone use a tool properly than to watch them try to figure it out.
Understanding Underlayment Requirements
To achieve a successful wood shingle roofing installation, it’s essential to understand the underlayment requirements. I mean, we’re talking about the unsung hero of your roof here – the underlayment. It’s like the Robin to your wood shingle Batman.
First off, underlayment materials are crucial. You want to look for high-quality materials that provide excellent moisture protection. Think of it as wrapping your house in a waterproof hug.
Next up, application methods. You don’t just slap the underlayment on and call it a day. No, no, no. You need to make sure it’s properly installed with all the right fastening techniques. This thing needs to be as snug as a bug in a rug, but on your roof.
Listen, the underlayment mightn’t be the most glamorous part of the roofing process, but it’s the backbone that keeps everything together. So, choose your materials wisely, apply them with care, and remember that a little extra attention to the underlayment now can save you a whole lot of trouble down the line.
Nailing Techniques and Patterns
I demonstrate proper nailing techniques and patterns for wood shingle roofing installation. Let’s talk about nailing those shingles down, shall we?
Nail placement is crucial, like getting the right angle for that perfect selfie. You want to drive those nails into the sweet spot, not too high and definitely not too low. It’s like finding the Goldilocks zone for your shingles. And speaking of shingles, they need to be aligned just right, like a perfectly organized spice rack. You don’t want your roof looking like a haphazardly stacked Jenga tower.
Now, let’s address the nailing pattern. It’s not just about randomly hammering away like a wannabe rock star. No, no, there’s an art to it. You need to follow a consistent nailing pattern to ensure that your shingles stay put, like a well-behaved puppy on a leash. Think of it as creating a beautiful mosaic with nails, minus the artsy flair.
Managing Shingle Gaps and Overhangs
When installing wood shingle roofing, attention should be paid to the proper management of shingle gaps and overhangs to avoid any mishaps. Shingle alignment and spacing play a crucial role in the overall aesthetics and functionality of your roof. Ensuring that the shingles are evenly spaced and aligned properly not only enhances the visual appeal but also provides better protection against the elements. Nobody wants a wonky roof, after all.
| Shingle Alignment | Overhang Protection |
|---|---|
| Ensure shingles are aligned horizontally and vertically for a uniform appearance. | Trim any overhanging shingles to prevent water from seeping underneath, and maintain the overhang to shield the roof and walls from moisture. |
| Maintain consistent spacing between shingles to promote proper ventilation and prevent moisture buildup. | Check and maintain the overhang regularly to prevent any damage to the roof’s edge and underlying structure. |
Speaking of overhangs, it’s like giving your roof a stylish sun hat while also protecting it from the rain. It’s all about that fashion-meets-function vibe. So, keep those shingles aligned and overhangs trimmed for a roof that’s both fabulous and functional!
Addressing Ventilation and Insulation
Addressing ventilation and insulation is crucial for ensuring the long-term performance and durability of a wood shingle roof. It’s like giving your roof a cozy little sweater and making sure it can take a deep breath. Ventilation requirements are no joke.
Without proper airflow, your roof could get as sweaty as a glass of iced tea on a hot summer day—nobody wants that. You’ve got to let that heat and moisture escape, or else you’ll have a recipe for mold and rot that would make a compost pile jealous.
Now, let’s talk about insulation considerations. Think of insulation as the bouncer at the club, keeping unwanted heat or cold out of your attic. You want just the right amount—enough to keep your energy bills from skyrocketing, but not so much that your roof can’t breathe. A well-insulated attic is like a thermos for your house, keeping it cozy in the winter and cool in the summer.
Applying Treatment and Finishing Touches
First, ensure that the wood shingles are treated with a protective sealant before installation to enhance their durability and resistance to weathering. Think of it as giving your wood shingles a shield, like a knight going into battle – you want them to be as protected as possible! This surface treatment not only helps to seal the wood against the elements but also adds a layer of defense against those pesky termites and other critters that might fancy a nibble.
After applying the treatment, it’s time for the finishing touches. This is where you get to add your personal flair to the roof. Maybe you want to go for a classic, natural wood look, or perhaps you’re feeling bold and want to experiment with a pop of color. Whatever your style, remember that the key to longevity is weather resistance and durability. So, choose a finish that not only complements your home but also ensures that your wood shingle roof will stand the test of time.
In the end, the surface treatment and finishing touches are the icing on the cake for your wood shingle roof. With the right protection and a touch of style, your roof won’t only look great but also weather whatever Mother Nature throws its way.
Regular Maintenance and Inspection
After applying the treatment and finishing touches, I regularly inspect and maintain my wood shingle roof to ensure its longevity and performance. It’s like giving my roof a little spa day, minus the cucumber eye masks. Preventing rot and damage is key to keeping my roof in tip-top shape. I make sure to clear any debris that may have accumulated, like leaves and rogue frisbees, to prevent moisture buildup and potential decay. It’s all about extending the lifespan and durability of my roof, because let’s face it, a high-maintenance roof isn’t what I signed up for.
Regular inspections are my jam. I keep an eye out for any cracked or broken shingles, and I’m not afraid to whip out the binoculars for a closer look. It’s all about catching potential issues before they escalate into full-blown drama. I also check for any signs of moss or algae growth because, let’s be real, my roof isn’t auditioning for a role in a jungle movie.